St Brigid's Day 2020
St Brigid Brings the Spring!
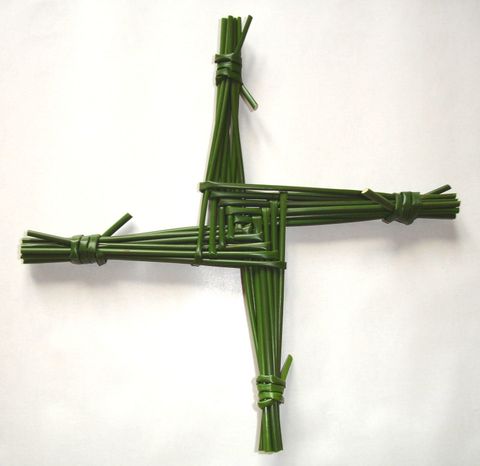
St Brigid’s Day is celebrated on the 1st February each year and it is customary to make St Brigid’s crosses in Ireland to hang above the entrances to dwellings to invoke the help of St Brigid in warding off disease.
Traditionally, crosses were made from rushes about 8-12 inches long and nowadays rubber bands are used to tie up the ends. Before using the rushes, many people prepare the rushes by wrapping them in a damp cloth and wiping them down to remove any residue. Rushes are generally found in wetlands.
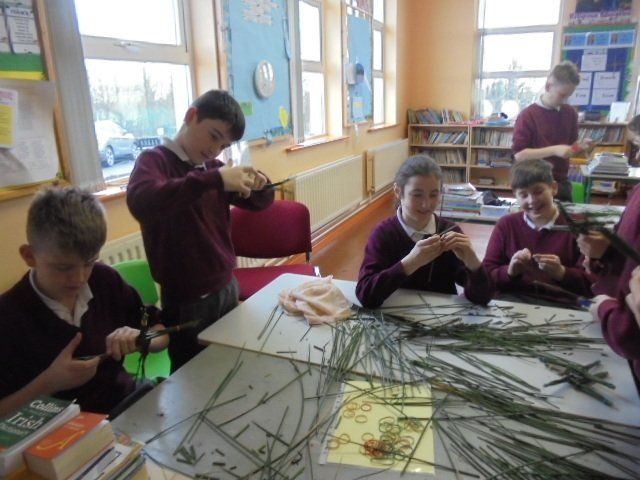
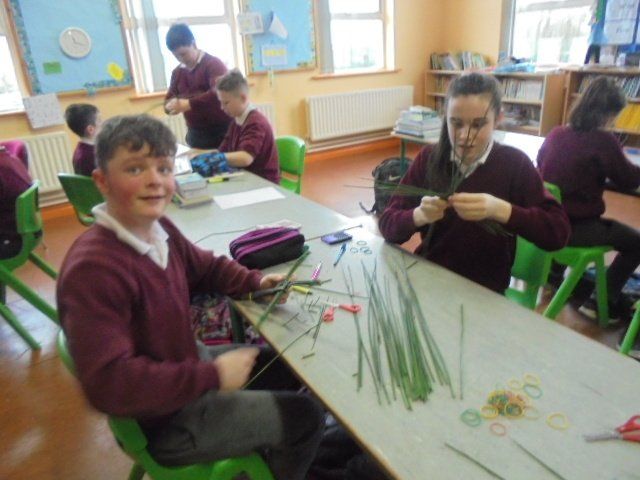
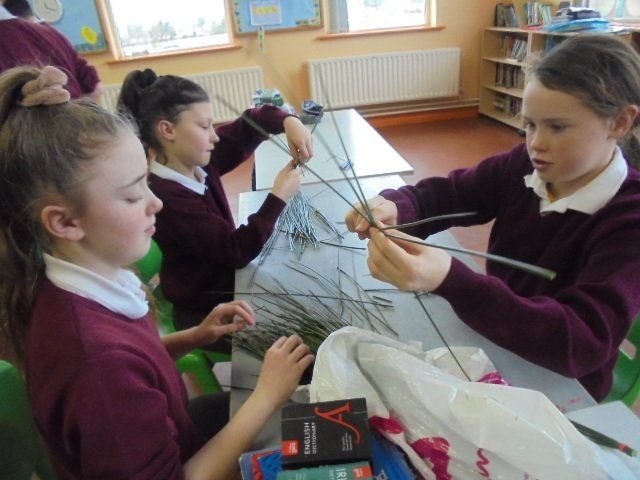
Below is a procedure of how to make a St Brigid’s cross and check out our St Brigid's Day 2020 Gallery below that. We were very lucky to have some of our grandparents come in to help us.
How to Make a St Brigid’s Cross
Materials
Rushes (16 for an average sized cross)
Cloth
Rubber bands
Scissors
Procedure
At all times, securely hold the rushes / cross with thumb and forefinger to prevent it from falling apart.
1. Use a damp cloth to wipe down each rush to remove any residue.
2. Hold one of the rushes horizontally. Both ends should be at 3 and 9 on the clock face.
3. From the back of the first rush, fold over a second rush in half. Both ends of this new rush should be at 6.
4. Rotate the two rushes held together 90 degrees anti-clockwise so that the open ends of the second rush are at 3.
5. From the back of the rushes, fold a third rush in half over the newly added second rush. Both ends of rush three should be at 6.
6. Rotate the three rushes held together 90 degrees anti-clockwise so that the open ends of the third rush are at 3.
7. Repeat this process of rotating 90 degrees anti-clockwise and adding a new folded rush until all the rushes have been used.
8. Use elastic bands to secure the arms of the cross and then trim the ends of the rushes to even out the arms.
Tips
1. If you are left-handed, it may be easier for you to rotate the rushes / cross clockwise to 9.
2. If you have no rubber bands to hand, use some rushes to secure the ends or you can secure the cross by sliding the last rush in through the fold of the second last rush.


